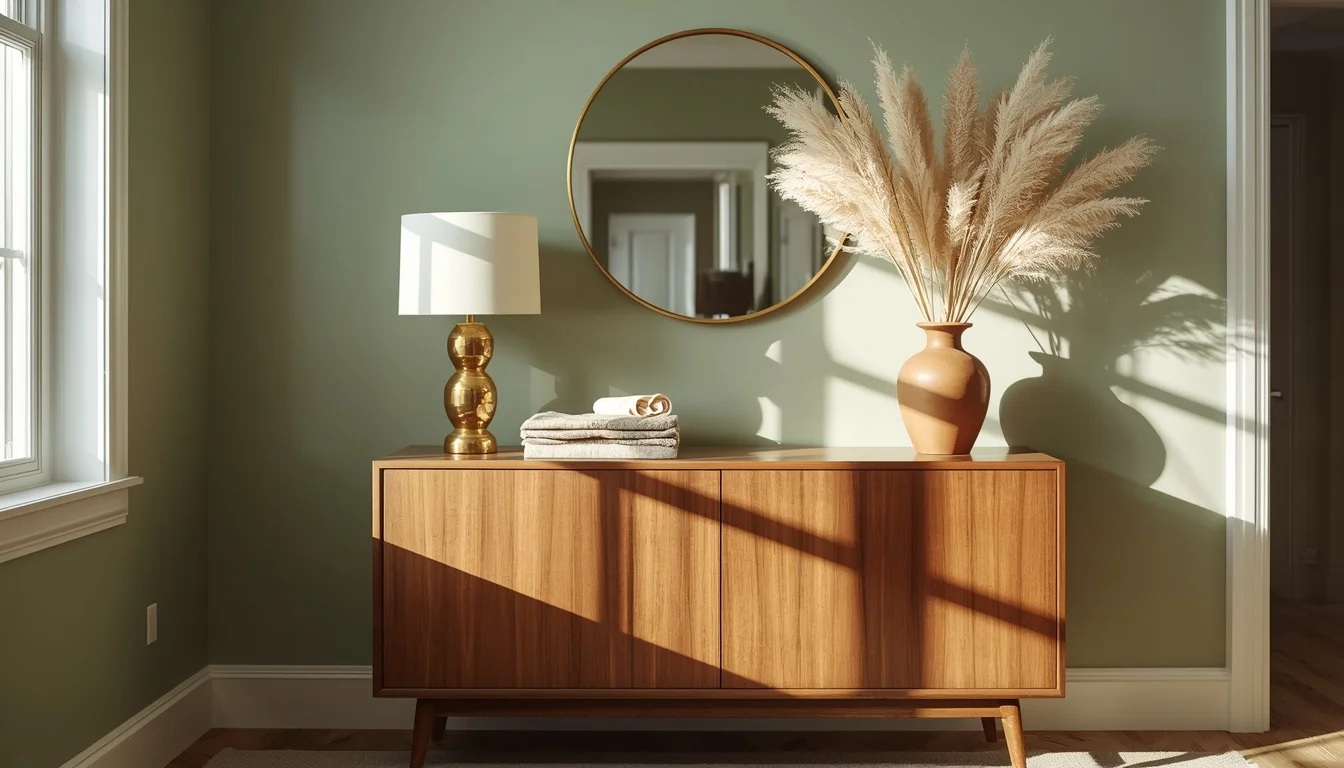
Dining Room Buffet Decor Ideas: 9 Stunning Designer Steps
Dining Room Buffet Decor Ideas: The Framework Real Decorators Actually Use
Every professional decorator I’ve worked alongside follows one unspoken rule with a buffet: style the top third and let the piece do the rest of the work. That’s really the whole secret behind dining room buffet decor ideas that don’t end up looking like a furniture showroom display — the buffet itself is already doing most of the visual heavy lifting, so your styling only needs to finish the story, not compete with it.
Table of Contents
In this guide, I’m walking you through the exact nine-step framework I use with clients, starting with choosing the right anchor piece and ending with knowing when to swap out a seasonal display. There’s no filler here, just the practical stuff that actually changes how a dining room feels the second you walk in.
A quick note before we start: none of this requires replacing furniture or hiring anyone. Most of what separates a styled buffet from a cluttered one is sequencing — doing things in the right order — not budget.
Step 1: Set the Anchor Piece Before You Style Anything
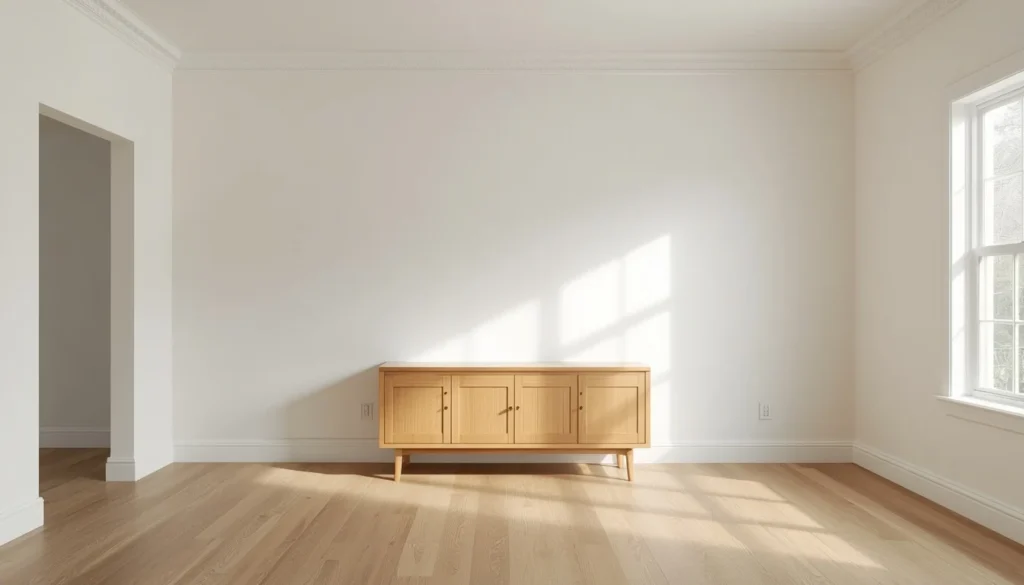
Buffet styling fails most often because people start with the accessories instead of the furniture. Get the piece and its placement right first, and half your styling decisions make themselves.
The proportion rule I use with clients: your buffet should run roughly two-thirds the length of the wall it sits against, or two-thirds the length of your dining table, whichever is shorter. Go much narrower and it reads as an afterthought; go much wider and it crowds the walking path.
Standard buffet height sits between 32 and 36 inches, which puts the top surface at a natural eye-level styling zone once you’re seated. Depth matters too — a 18 to 20 inch depth is the norm for a full dining room, but see Step 9 if you’re working with a tighter footprint.
Designer secret: leave 6 to 8 inches of clearance on either side of the buffet, even if that means sizing down. That negative space is what makes the piece look intentionally placed instead of wedged in — it’s the single most common thing I fix in a client walkthrough.
Step 2: Build the Color Story
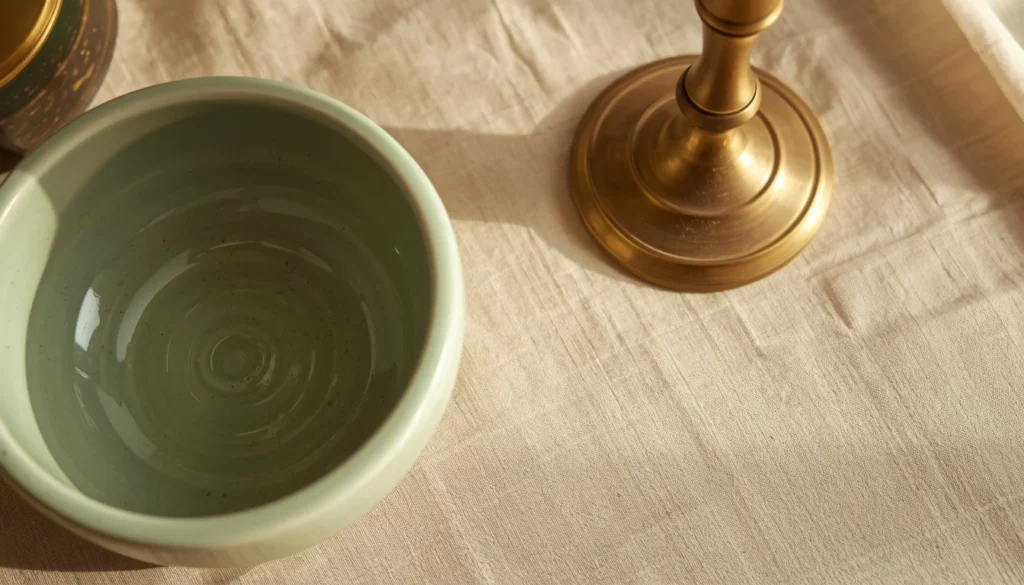
Once the piece is placed, pick your palette before you buy a single accessory. Two to three colors is the ceiling for a buffet vignette — more than that and the eye can’t rest anywhere.
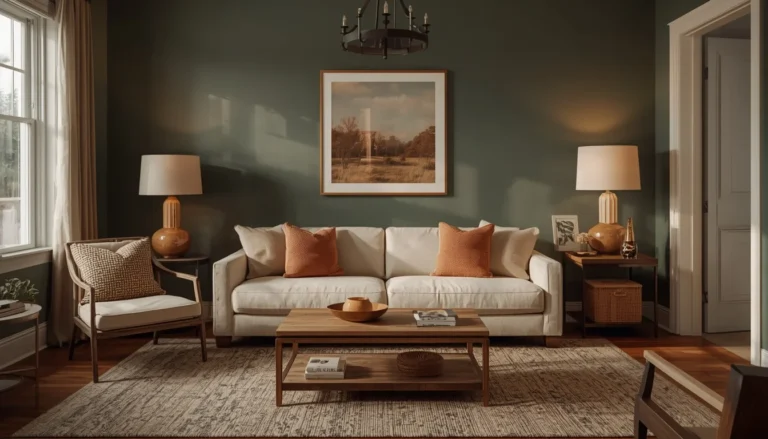
A pairing I come back to often for dining rooms: sage green, aged brass, and warm cream. It reads calm without being flat, and it works with both wood tones and painted cabinetry. If your dining room leans more traditional, swap sage for a deep terracotta or muted rust instead.
Designer secret: pull one of your three colors from the dining table’s runner or napkins, not from the wall paint. That small link is what makes the buffet feel connected to the whole room instead of like a separate display case.
If you’re repainting the wall behind the buffet as part of this refresh, it’s worth checking a professional color library rather than guessing from a swatch under store lighting. View current dining room color trends — paint brand color library, e.g. Sherwin-Williams or Behr]
Step 3: Layer Texture and Material Contrast
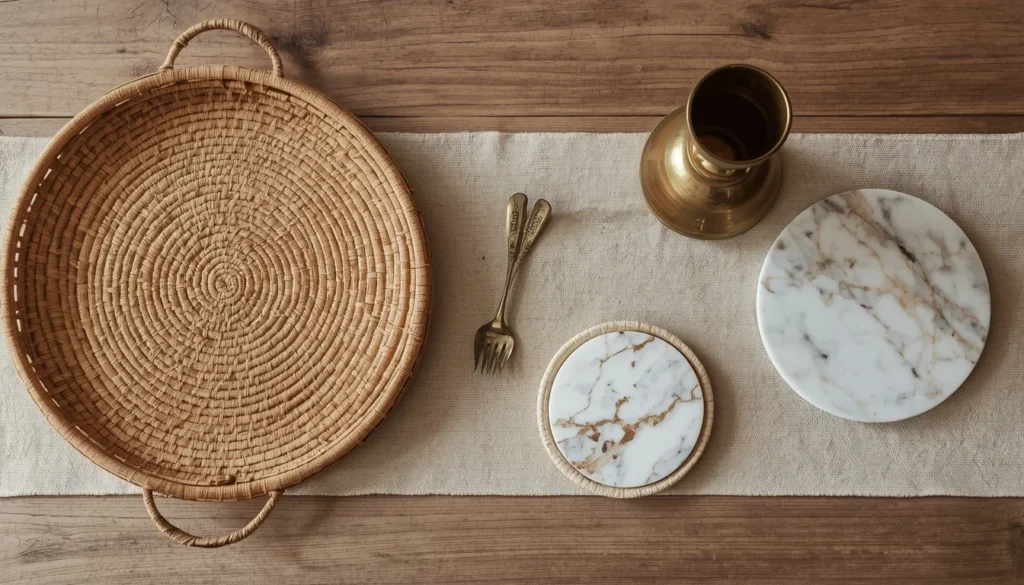
Color gets a vignette 70 percent of the way there. Texture is what makes it feel finished instead of flat — matte next to glossy, smooth next to woven, cool next to warm.
A practical breakdown of what I reach for most, with the trade-offs clients don’t always hear upfront:
- Rattan or woven baskets — warm, casual texture, but they show wear fast in high-traffic homes with kids or pets; expect to replace every 2-3 years.
- Brass or unlacquered metal — develops a soft patina over time that most people end up loving, though it will tarnish unevenly if never touched.
- Marble or stone trays — cool to the touch and visually elevated, but heavier than they look and prone to chipping at the corners if bumped.
- Linen or textured ceramic — the safest, most budget-friendly texture layer, usually $15-40 per piece and easy to rotate seasonally.
Step 4: Master the Rule of Odd Numbers and Height Triangling
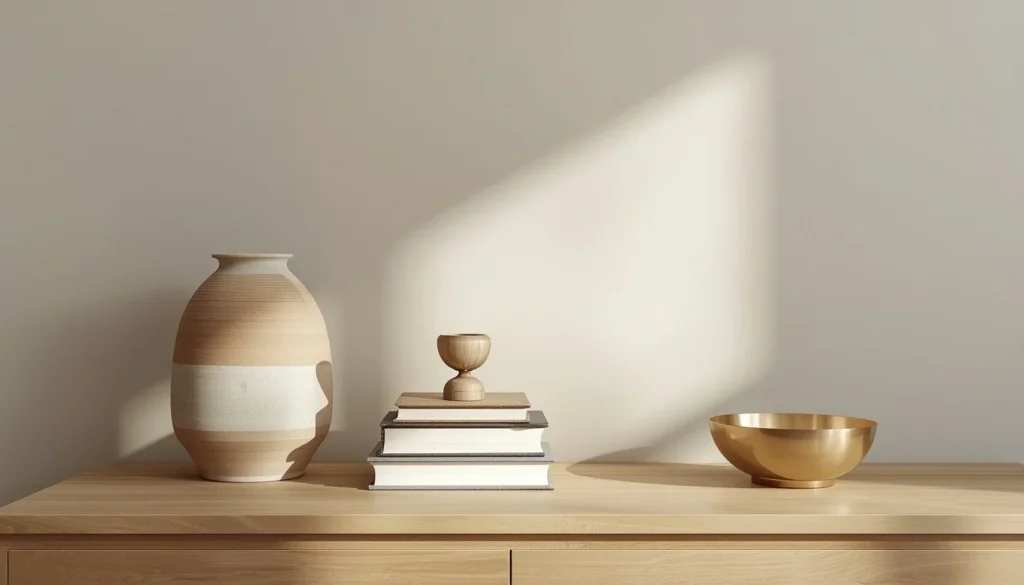
This is the step that separates a styled buffet from a matched pair of lamps and a bowl. Group objects in odd numbers — three or five — and vary their height so the arrangement forms a rough triangle: tall, medium, short.
Symmetrical matching pairs look staged because our eyes clock the repetition instantly. An asymmetrical triangle reads as collected over time, even if you bought everything the same afternoon.
Designer secret: aim for roughly 20 to 30 percent height difference between each object in the group. Too close in height and the triangle flattens out; too far apart and it looks disconnected instead of grouped.
Step 5: Add a Focal Layer Above the Buffet
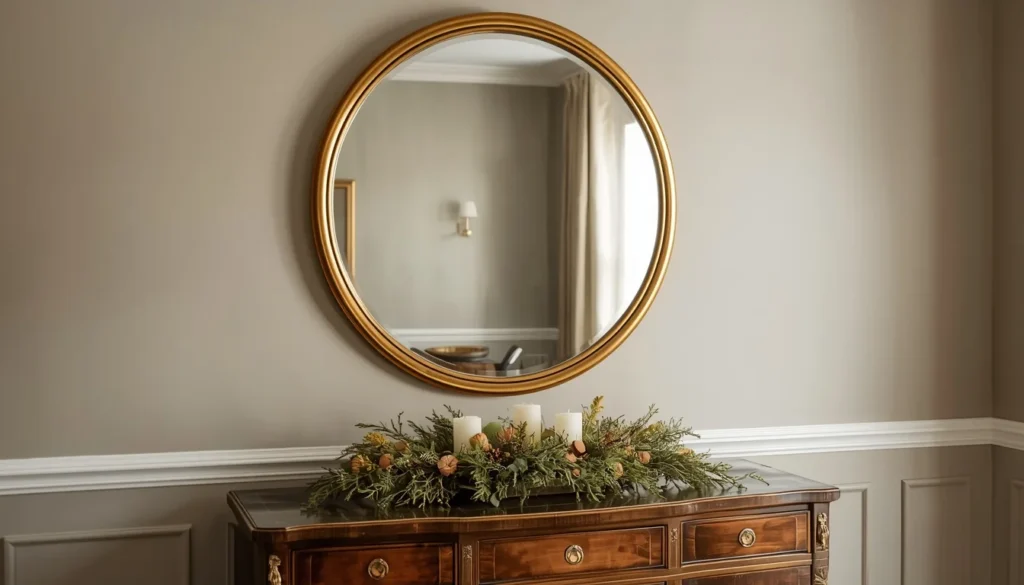
A buffet with nothing above it feels unfinished, but this is also where I see the most sizing mistakes. Whatever you hang — mirror or art — should measure about two-thirds the width of the buffet itself, not the full width.
Hang it 6 to 8 inches above the buffet surface. Much higher and it floats disconnected from the piece; much lower and it crowds anything tall you’ve styled underneath.
A round or organically shaped mirror softens a room full of rectangular furniture, while a single piece of art with warmth in its palette ties back into your Step 2 color story. If you’re not sure which fits your space, our guide on wall styling covers both in more depth.
Step 6: Style for Function, Not Just Looks
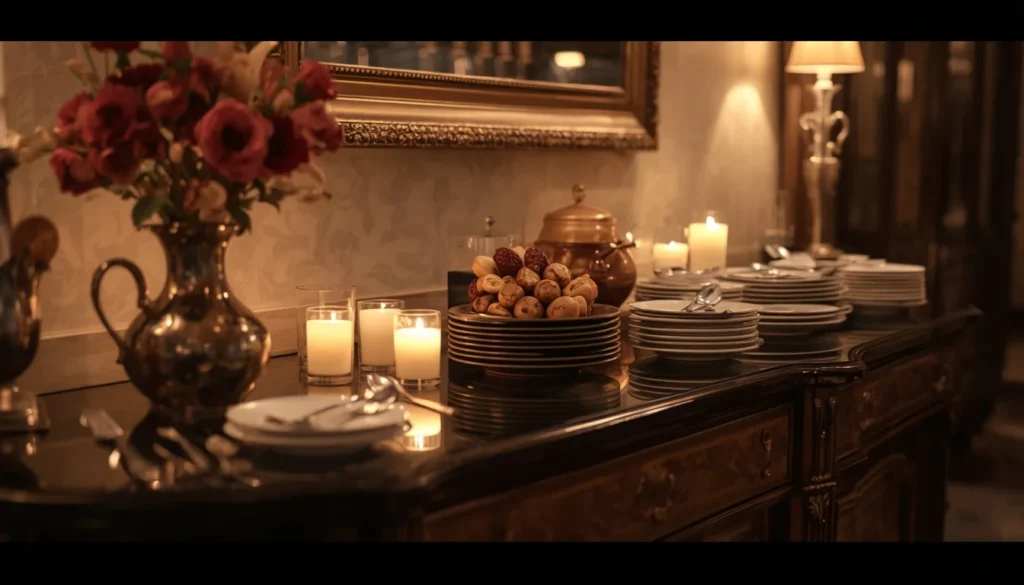
A buffet that looks perfect but can’t hold your holiday serving dishes isn’t doing its job. Before you finalize the top styling, decide what the drawers and cabinets underneath are actually storing — linens, extra flatware, serving platters — so the surface above supports that use instead of fighting it.
If you host regularly, leave a clear landing zone on one end of the buffet top, even if it means a slightly asymmetrical display. That’s a trade-off most decor-only articles skip, but it’s the difference between a buffet that works during Thanksgiving and one you have to fully clear off first.
Households with young kids or pets: keep anything fragile or top-heavy toward the back third of the surface, and skip low hanging tablecloth-style runners that are easy to tug. A slightly higher, more contained styling approach holds up better day to day.
Step 7: Light the Vignette Properly
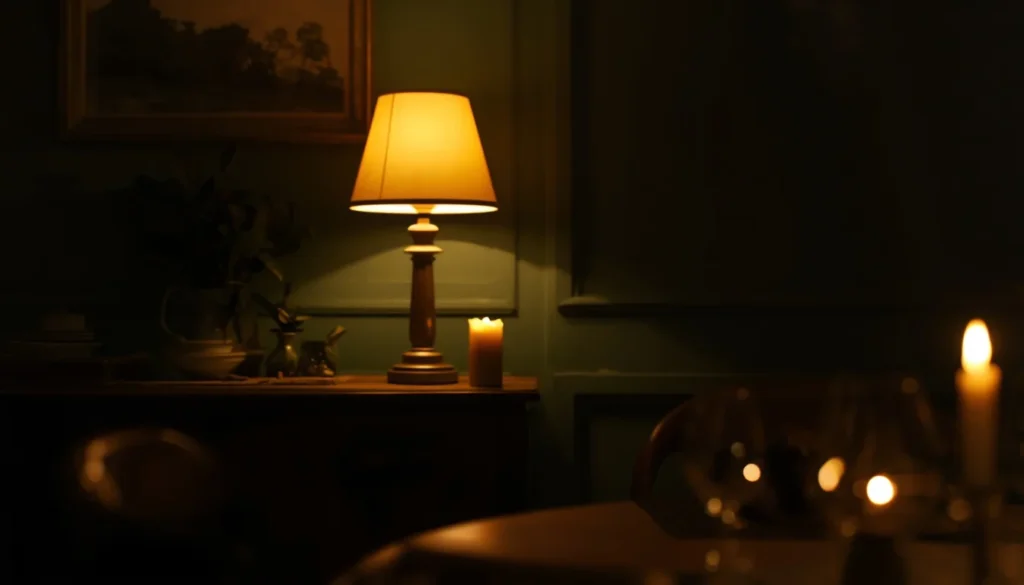
Overhead lighting alone flattens a buffet vignette — it lights the room, but it doesn’t do anything to make your styling pop. A small table lamp or a pair of taper candlesticks adds a second light source at a lower, warmer level.
Stick to a warm bulb temperature, roughly 2700 to 3000K, for anything on the buffet itself. Cooler bulbs read clinical against wood tones and brass finishes and will fight the color story you built in Step 2.
If you want a slightly more elevated look, a plug-in picture light mounted above the art or mirror is a nice middle step between a full lamp and nothing at all — worth checking a lighting design resource for fixture options in your budget range. Buffet and picture lighting fixture guide — a design or lighting manufacturer resource
Step 8: Build a Seasonal Rotation Strategy
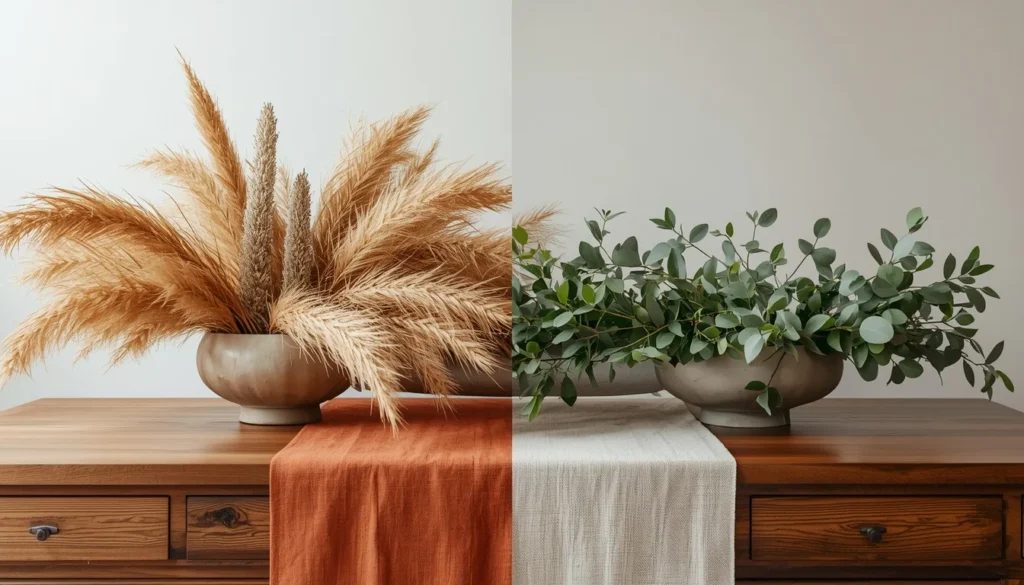
You don’t need to restyle the whole buffet every season — that’s a common misconception that makes people avoid updating it at all. Rotate two or three pieces: a runner, a small greenery arrangement, a scented candle in a seasonal note.
Budget-wise, one $20 to $40 seasonal swap item is usually enough to make the whole display feel current, especially if your base pieces — the lamp, the mirror, the tray — stay consistent year-round. That consistency is actually what reads as intentional design rather than a display that changes personality every few months.
A practical seasonal note for anyone in a warmer, humid climate: skip fresh-cut greenery near the buffet in summer months if you’re not around to swap water regularly, since it wilts faster and can mark wood finishes. Dried or faux stems solve this without sacrificing the look.
Step 9: Adapt the Framework for Small Spaces and Rentals
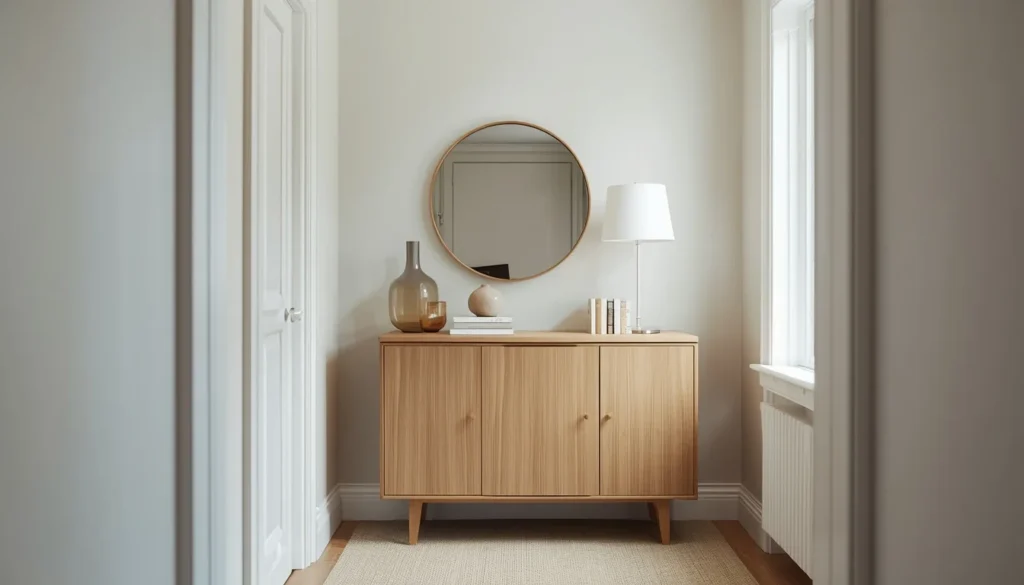
Everything above assumes a full-size buffet against an open wall, but plenty of dining rooms don’t have that luxury. If your space is tight, a narrow console-style buffet at 14 to 16 inches deep keeps the walking path clear while still giving you a styling surface.
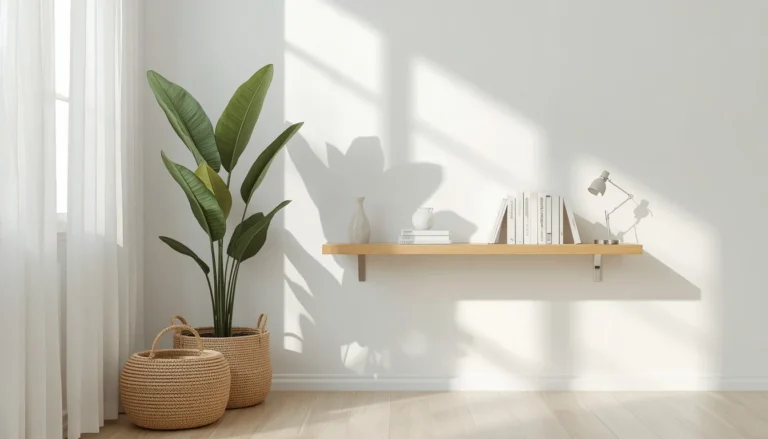
A floating shelf-style buffet or a corner-angled placement both work well in smaller rooms too, and either lets you keep the same nine-step logic — anchor, color, texture, height triangle, focal layer above — just scaled down.
For renters, skip anything that requires drilling into the wall behind the buffet. Command strips rated for the actual weight of your art or mirror hold up fine for most standard frames, and a mirror leaned against the wall on top of the buffet, rather than hung, gets the same visual effect with zero wall damage.
Putting the Framework Together
Run through these nine steps in order and you’ll notice something: none of them are actually about buying more stuff. Anchor piece, color story, texture, height triangle, focal layer, function, lighting, seasonal rotation, and space adaptation — that’s the whole system, and it works whether you’re spending $50 or $500.
If you only take one thing from this guide, make it the proportion rule from Step 1 and the odd-number height triangle from Step 4. Those two alone fix the majority of buffet styling that feels off but is hard to put a finger on.
Frequently Asked Questions
What are the best dining room buffet decor ideas for a small space?
A narrower console-style buffet at 14-16 inches deep, a leaning mirror instead of a hung one, and a scaled-down height triangle of three objects work best. See Step 9 for the full breakdown.
How many items should I put on top of a dining room buffet?
Group items in odd numbers, typically three or five, arranged in a height triangle rather than lined up evenly. This reads as intentional rather than staged.
Should a dining room buffet match the dining table wood tone?
It doesn’t need to match exactly — a complementary tone within the same warmth range (both warm woods or both cool woods) looks more collected than an exact match, which can read as a matching furniture set.
How often should I restyle my buffet decor?
Full restyles aren’t necessary. Swap two or three seasonal pieces — a runner, a candle, a small greenery accent — every few months and keep your base pieces consistent year-round.

Nice one good information